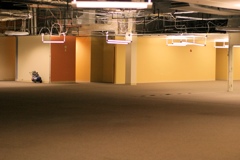
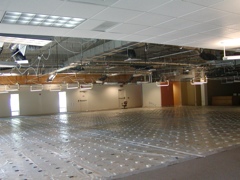
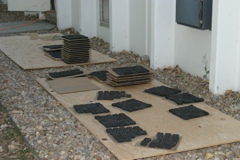
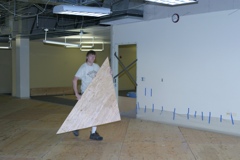
The quiet before the storm
|
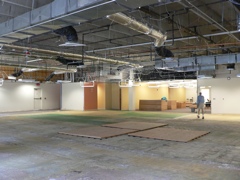
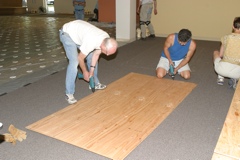
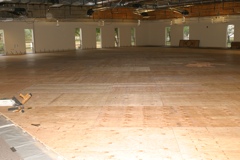
Test floors
|
Plywood stacked and ready to go.
|
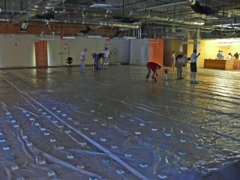
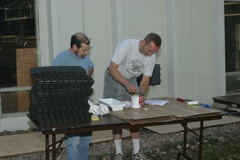
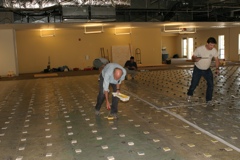
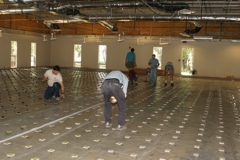
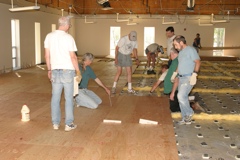
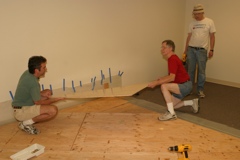
Floor leveling
|
Making floor leveling stacks.
|
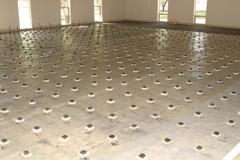
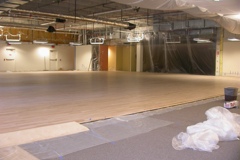
Leveled floor
|
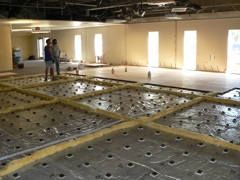
Sheets of rubber pads.
|
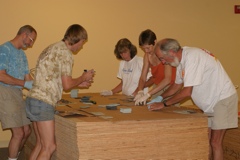
Cutting up sheets of rubber pads.
|
Pads ready for contact cement.
|
Contact cement being applied to floor shims.
|

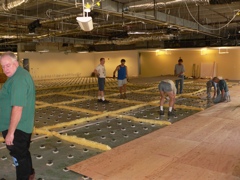
Rubber pads being placed.
|
Pads being placed on floor shims.
|
Floor ready for plywood sub-floor.
|
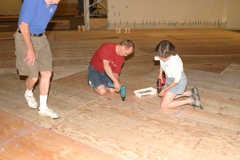
Plywood get counter sunk holes for screws.
|
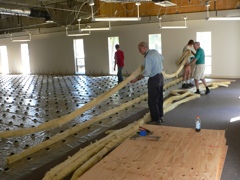
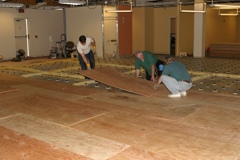
Strips of insulation.
|
Insulation grid used as fire break.
|
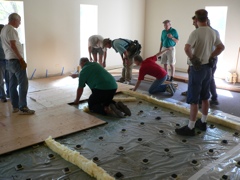
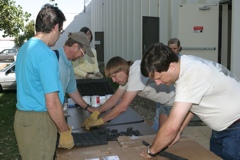
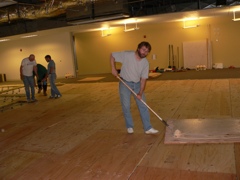
First layer of plywood laid on top of pads with glue.
|
Glue being applied to pads.
|
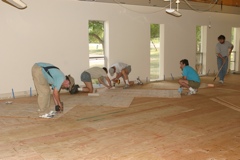
Plywood being placed with 1/8" expansion spacing.
|
Second layer of plywood is glued.
|
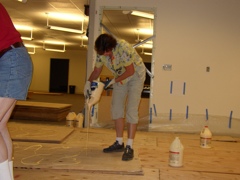
And then screwed to the first layer.
|
More layer-one plywood.
|
More screwing.
|
More gluing.
|
And gluing.
|

And screwing.
|
The final piece.
|
Placing the final piece of plywood.
|
Completed sub-floor.
|
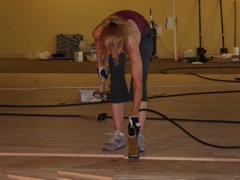
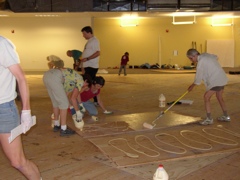
Nailing the oat flooring.
|
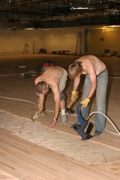
Pulling from the floor design layout and nailing it.
|
Final floor with poly applied.
|